Branded ContentNailed It! How to Pull Off A Polka-Dot Pedicure
It’s the height of summer, and your feet might need a little TLC. Get flip-flop fabulous with a super-cute polka-dot pedicure that’s easy to master at home.
How to get the look:
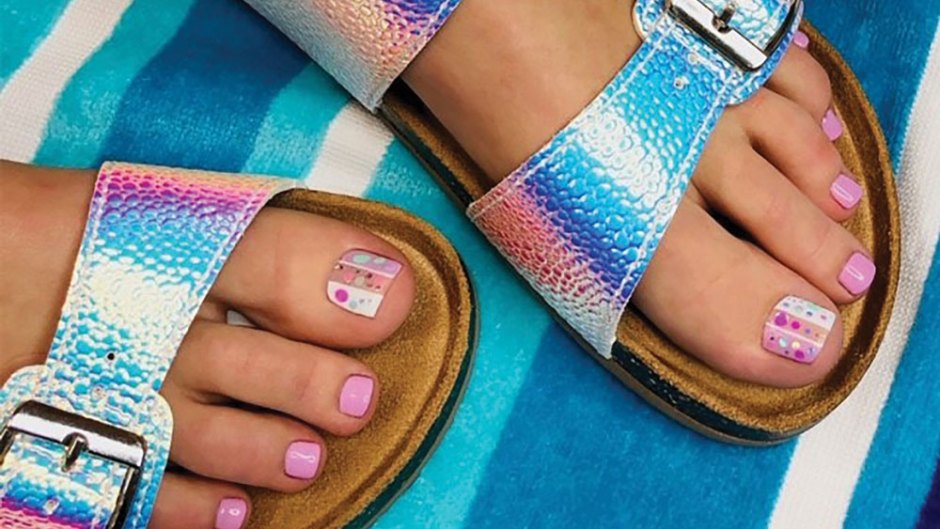
The big toe is the hero and gives you the most room for art. This polka-dot look uses striping tape and chunky glitter you can find at any craft shop.
Step 1: Apply base coat and let dry. Then put striping tape down the center of the nail and apply color to each side of the nail. Apply a second coat. Let dry until tacky.
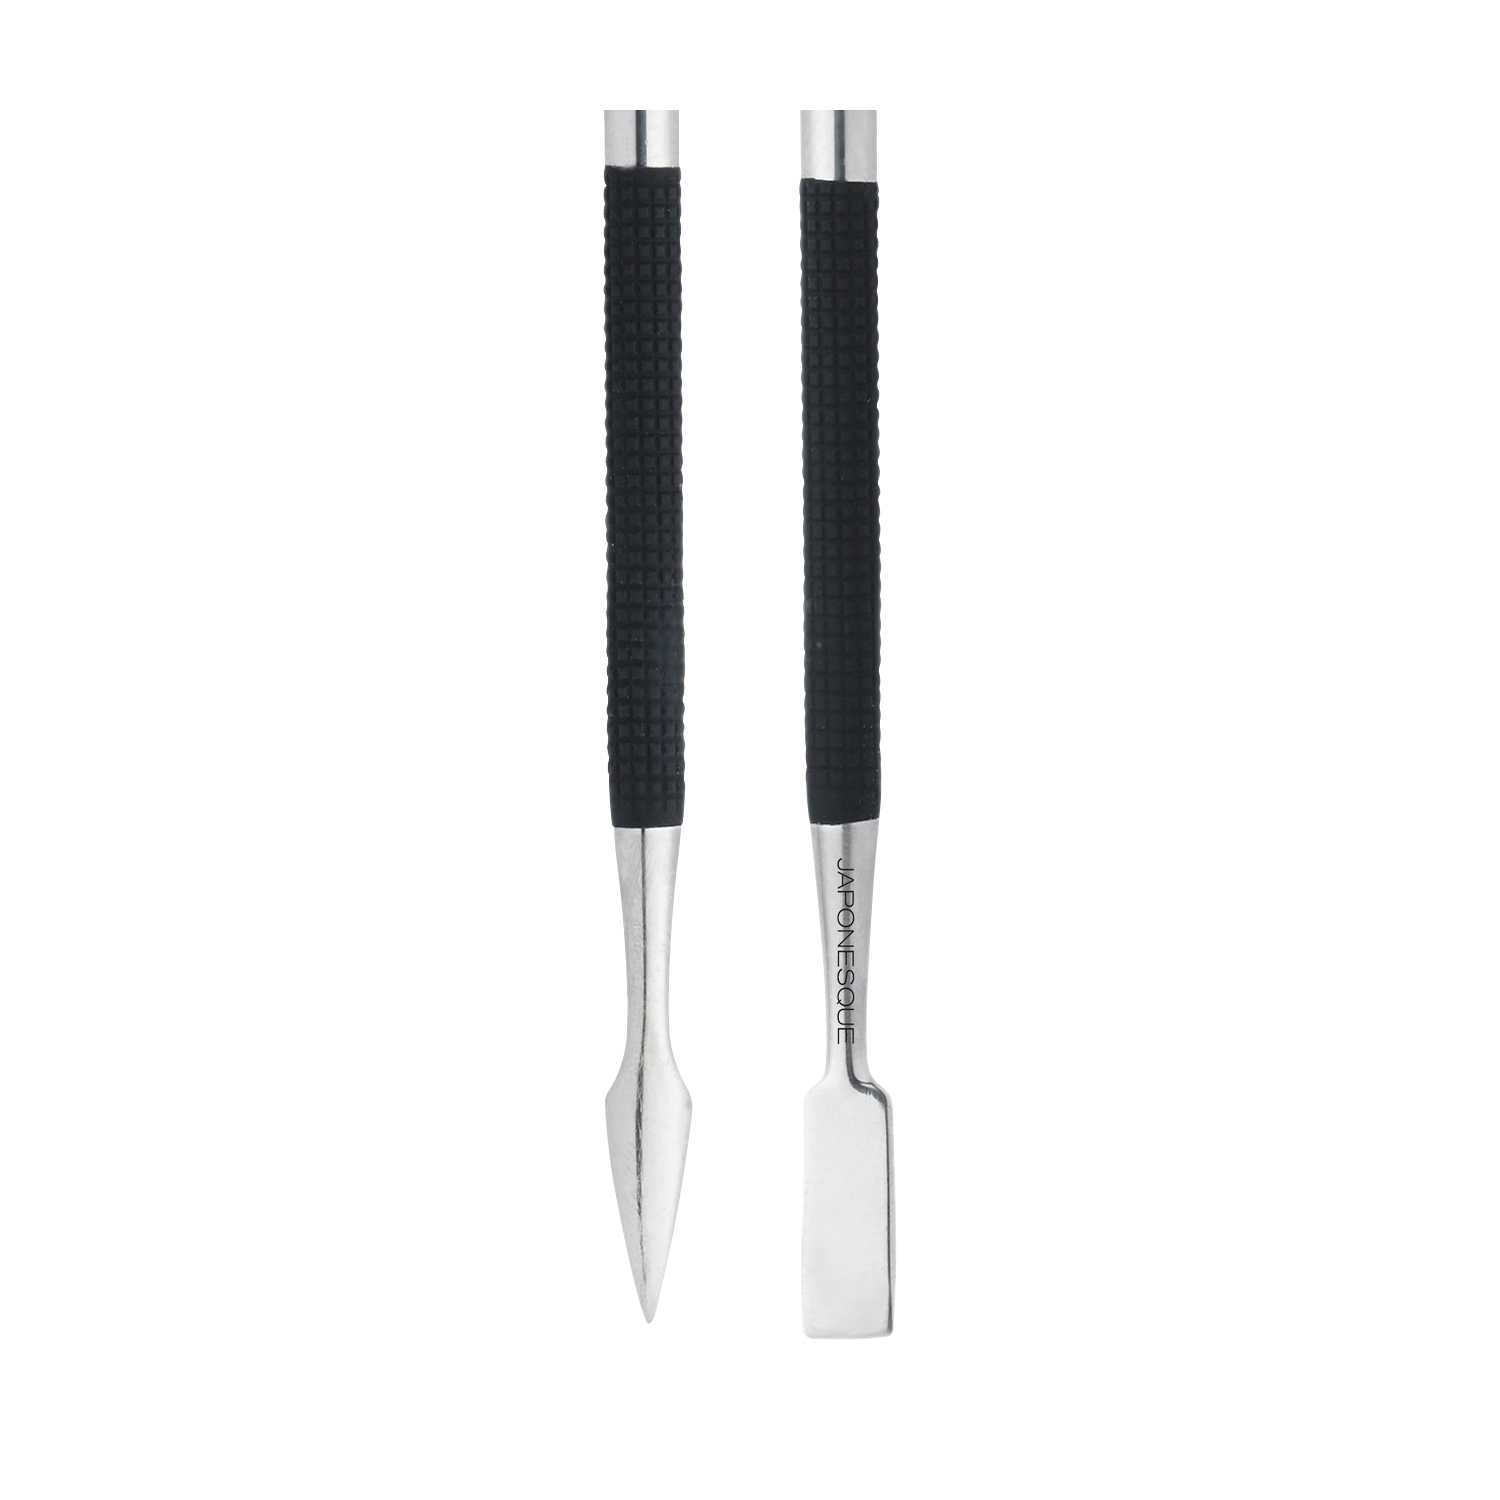
Step 2: Remove the striping tape. While the polish is still tacky, use the pointed end of the nail tool and dip it into a topcoat to wet the tip slightly. Then use the wet tip to pick up a chunk of glitter and apply to the nail. Repeat until you get the look you want.
Step 3: Apply topcoat and let dry.

Need to get your toes pedi-ready? We asked Japonesque to share tips for the ultimate summer pedicure.
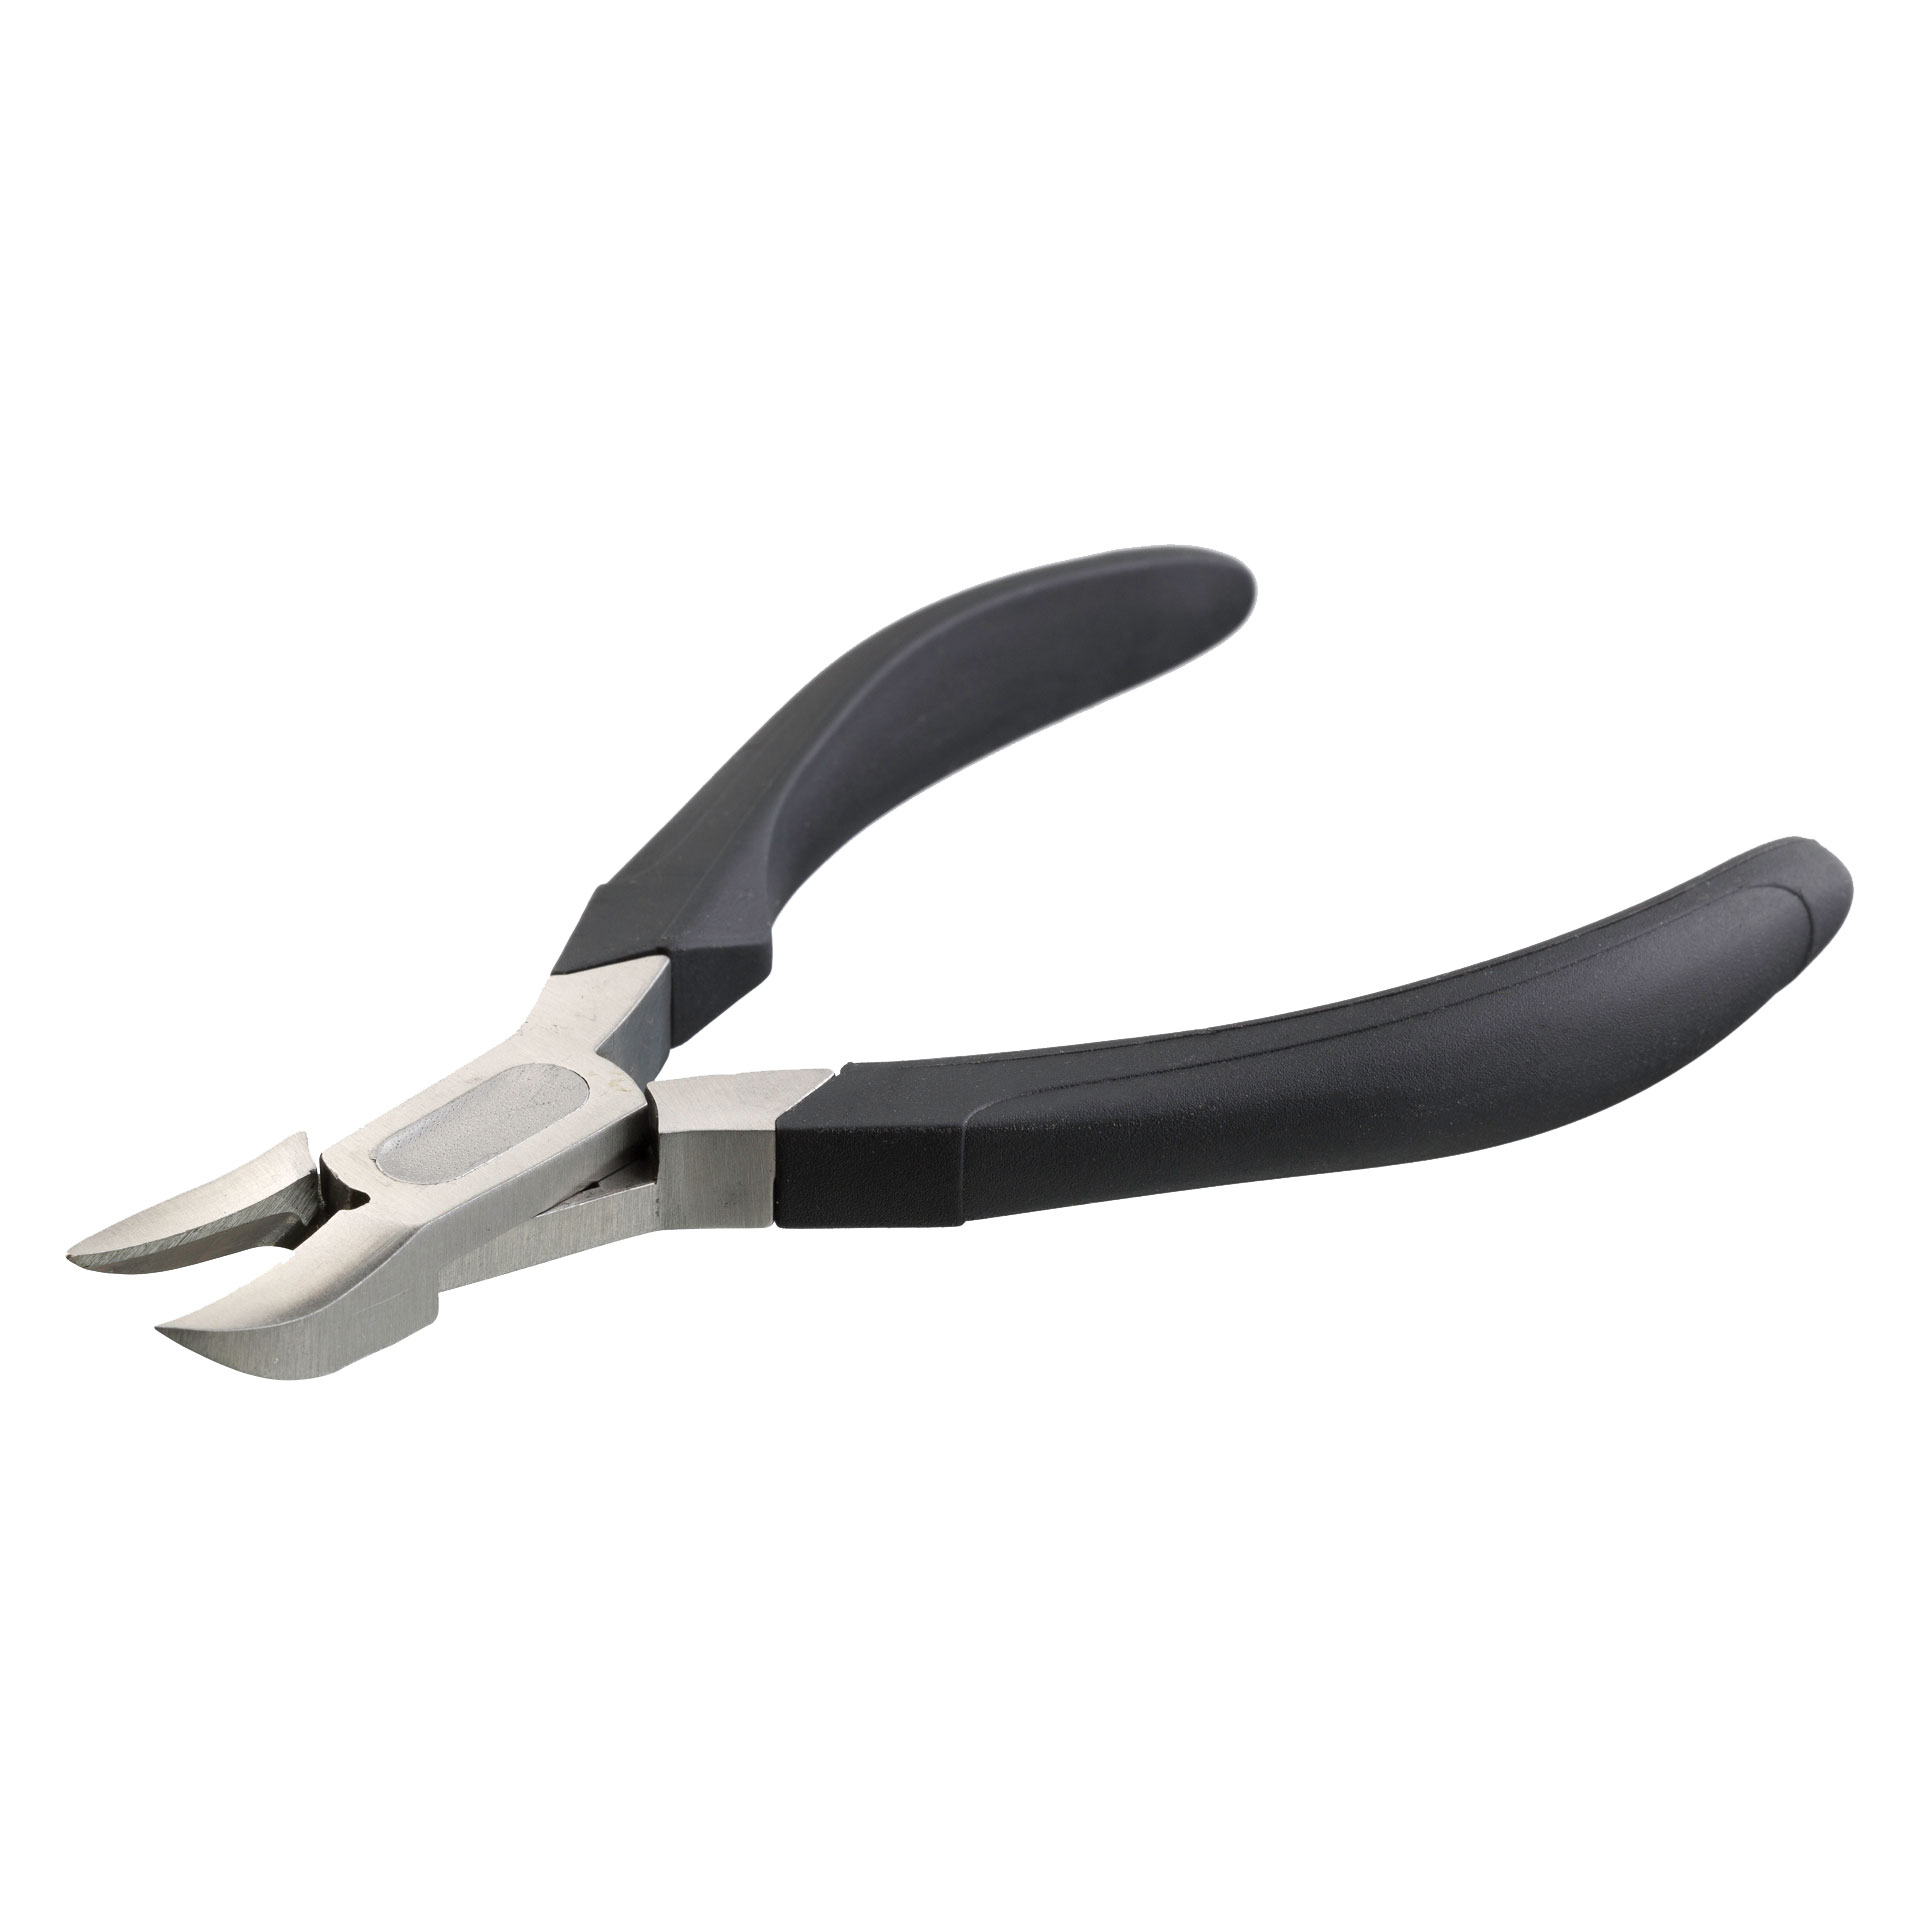
When trimming toenails, always cut them straight across to prevent ingrown toenails. Use a sharp, salon-quality tool like the Pro Performance Toenail Nipper; $9.99. Pushed back, clean cuticles will help polish last longer.

The Velvet Touch Nail Tool’s ($4.99) flat edge is ideal for smooth, clean surface.

A supersharp cuticle nipper like our Velvet Touch Manicure Nipper ($12.99) is pushing back the cuticles to create a the best tool to remove all the excess dead skin you just pushed back. But take care not to cut living skin — that’s your barrier to preventing infection.

Japonesque products are available at Rite Aid.
Have a tip? Send it to us! Email In Touch at contact@intouchweekly.com.


